FoodFash

Adventure Begins in the Kitchen

Chicken & Marinated Slaw Pita

December 5, 2013 by Kristin

Chicken Slaw Pita

One of the first {current} roommate memories I have involves an empty house, an empty fridge, and one quart of marinated slaw from Zoe’s Kitchen.  One bite turned into ten.  And ten bites turned into my first Max apology.  Since then, I think about that marinated slaw on the regular.

Seasoned Chicken Cutlets

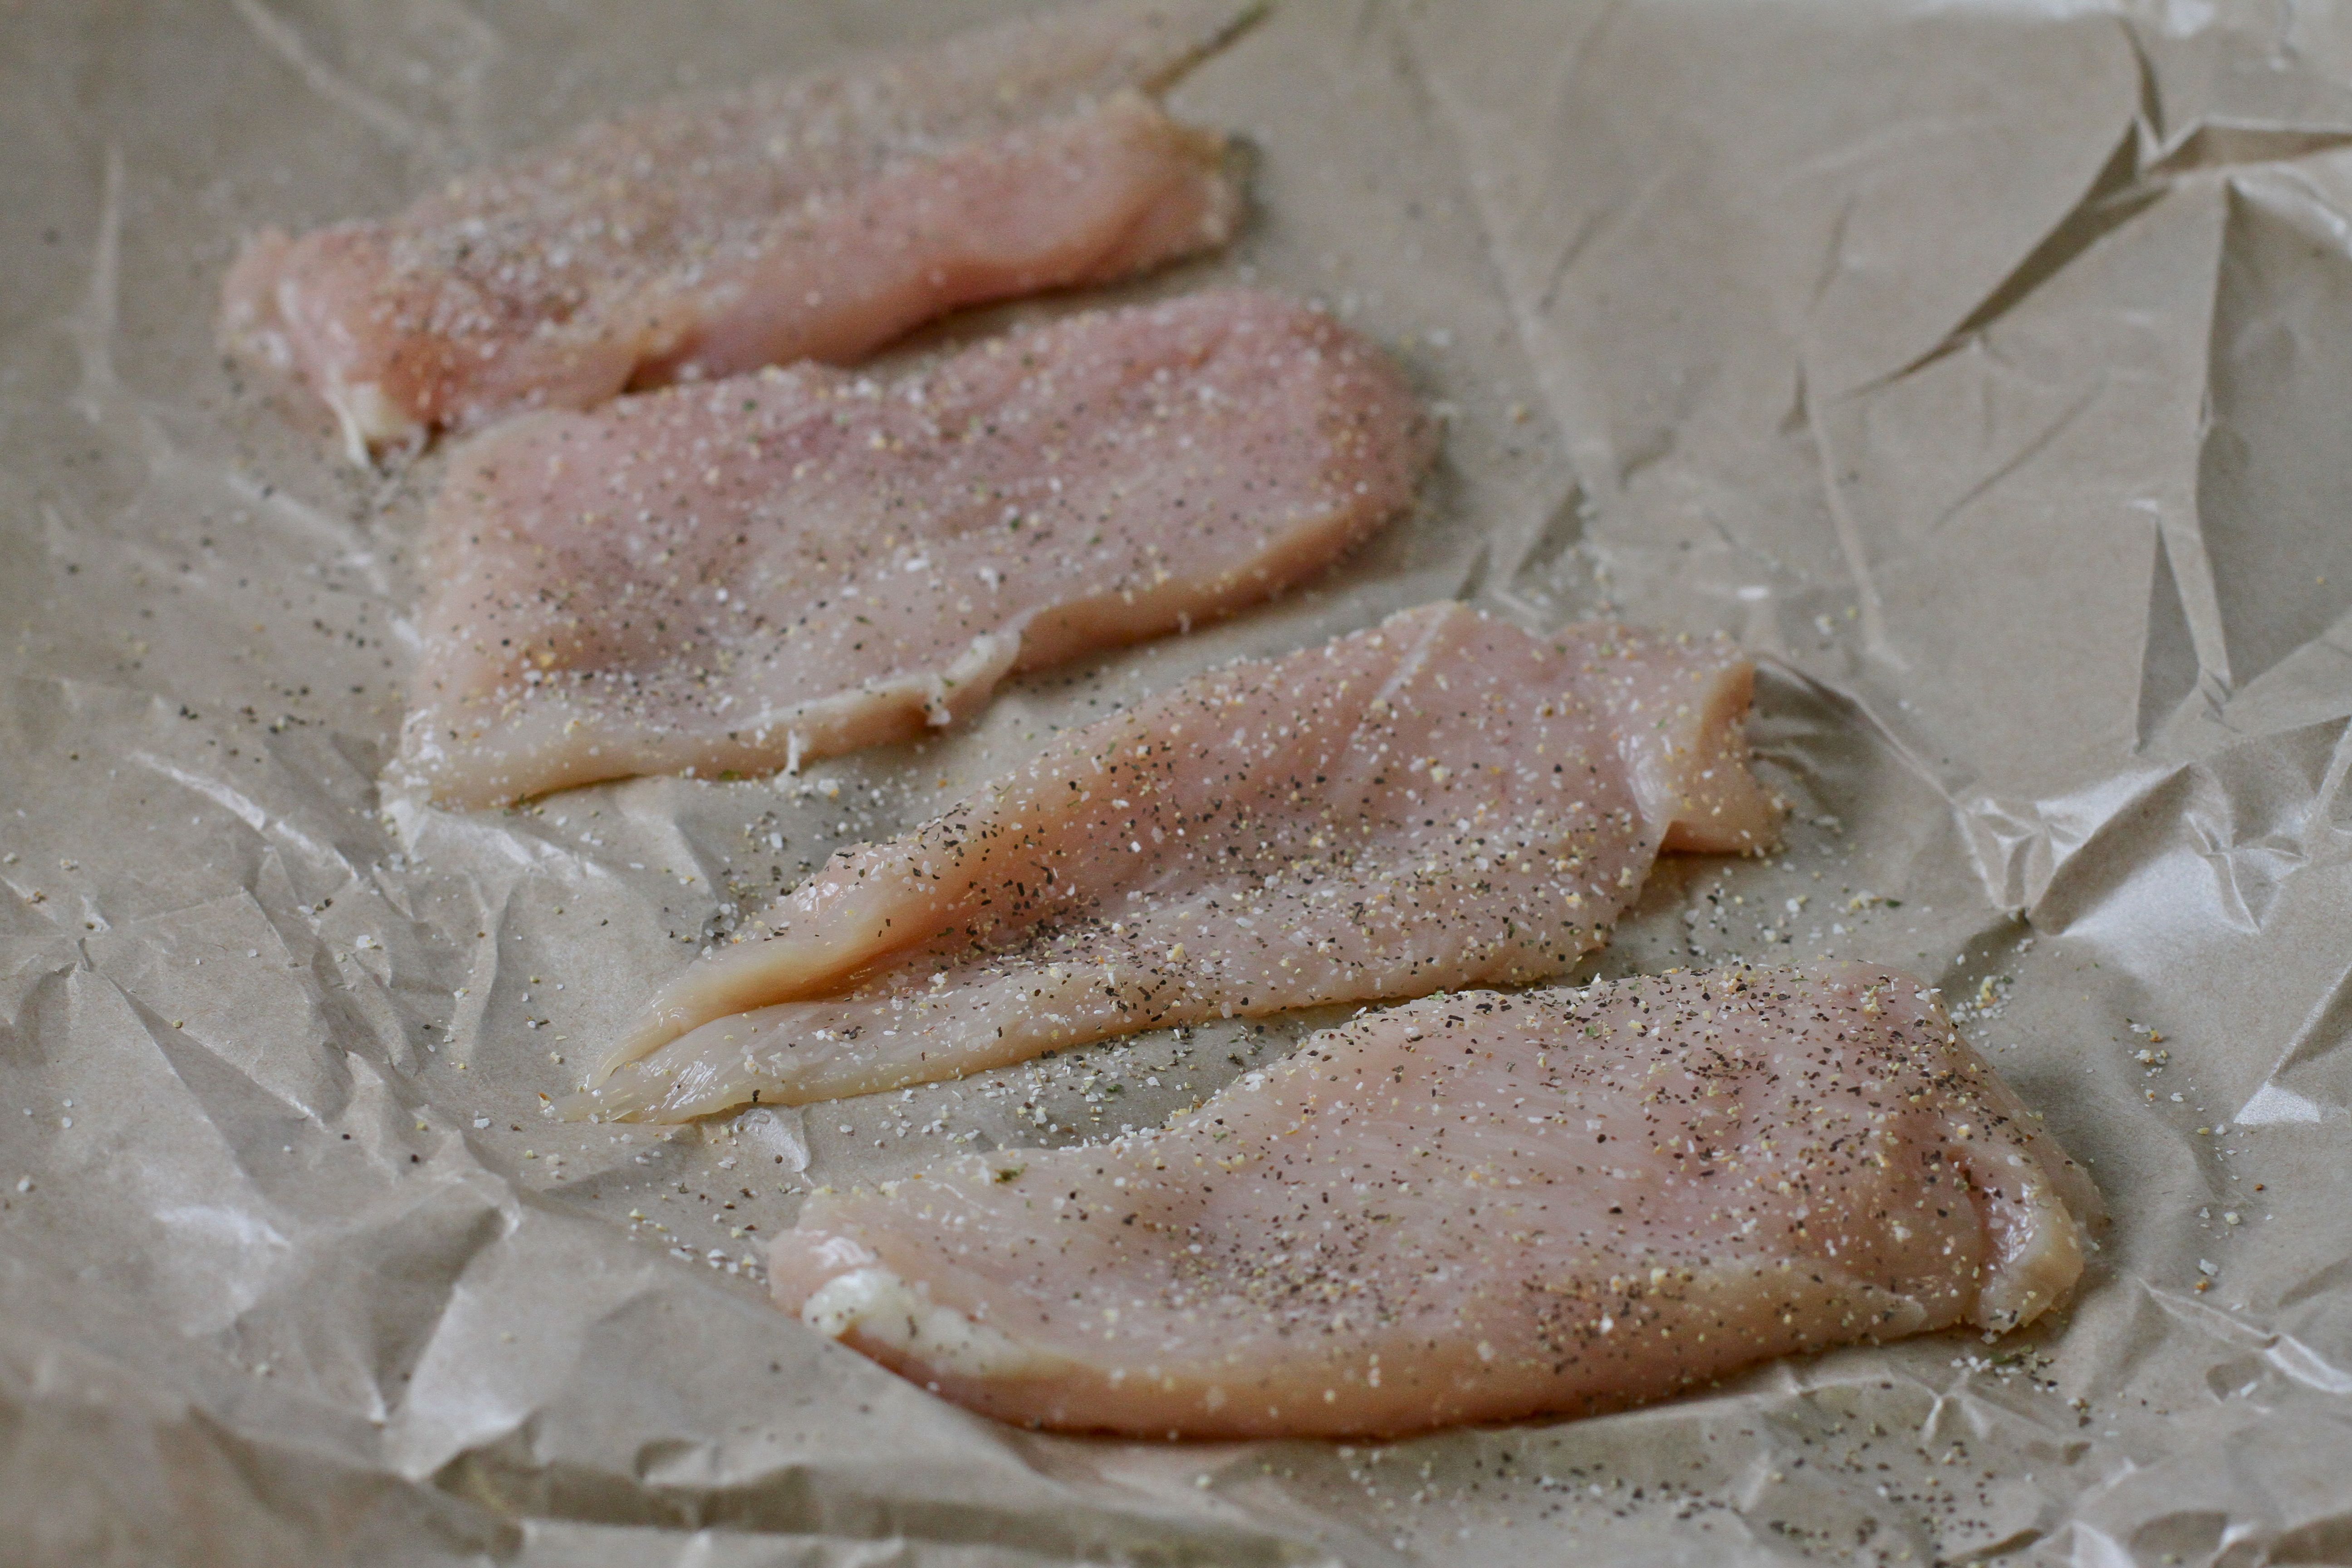
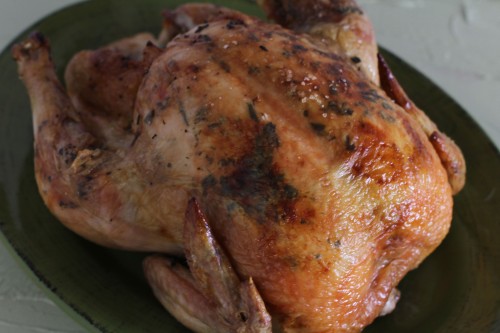
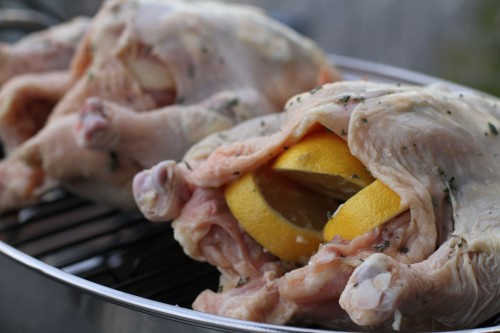
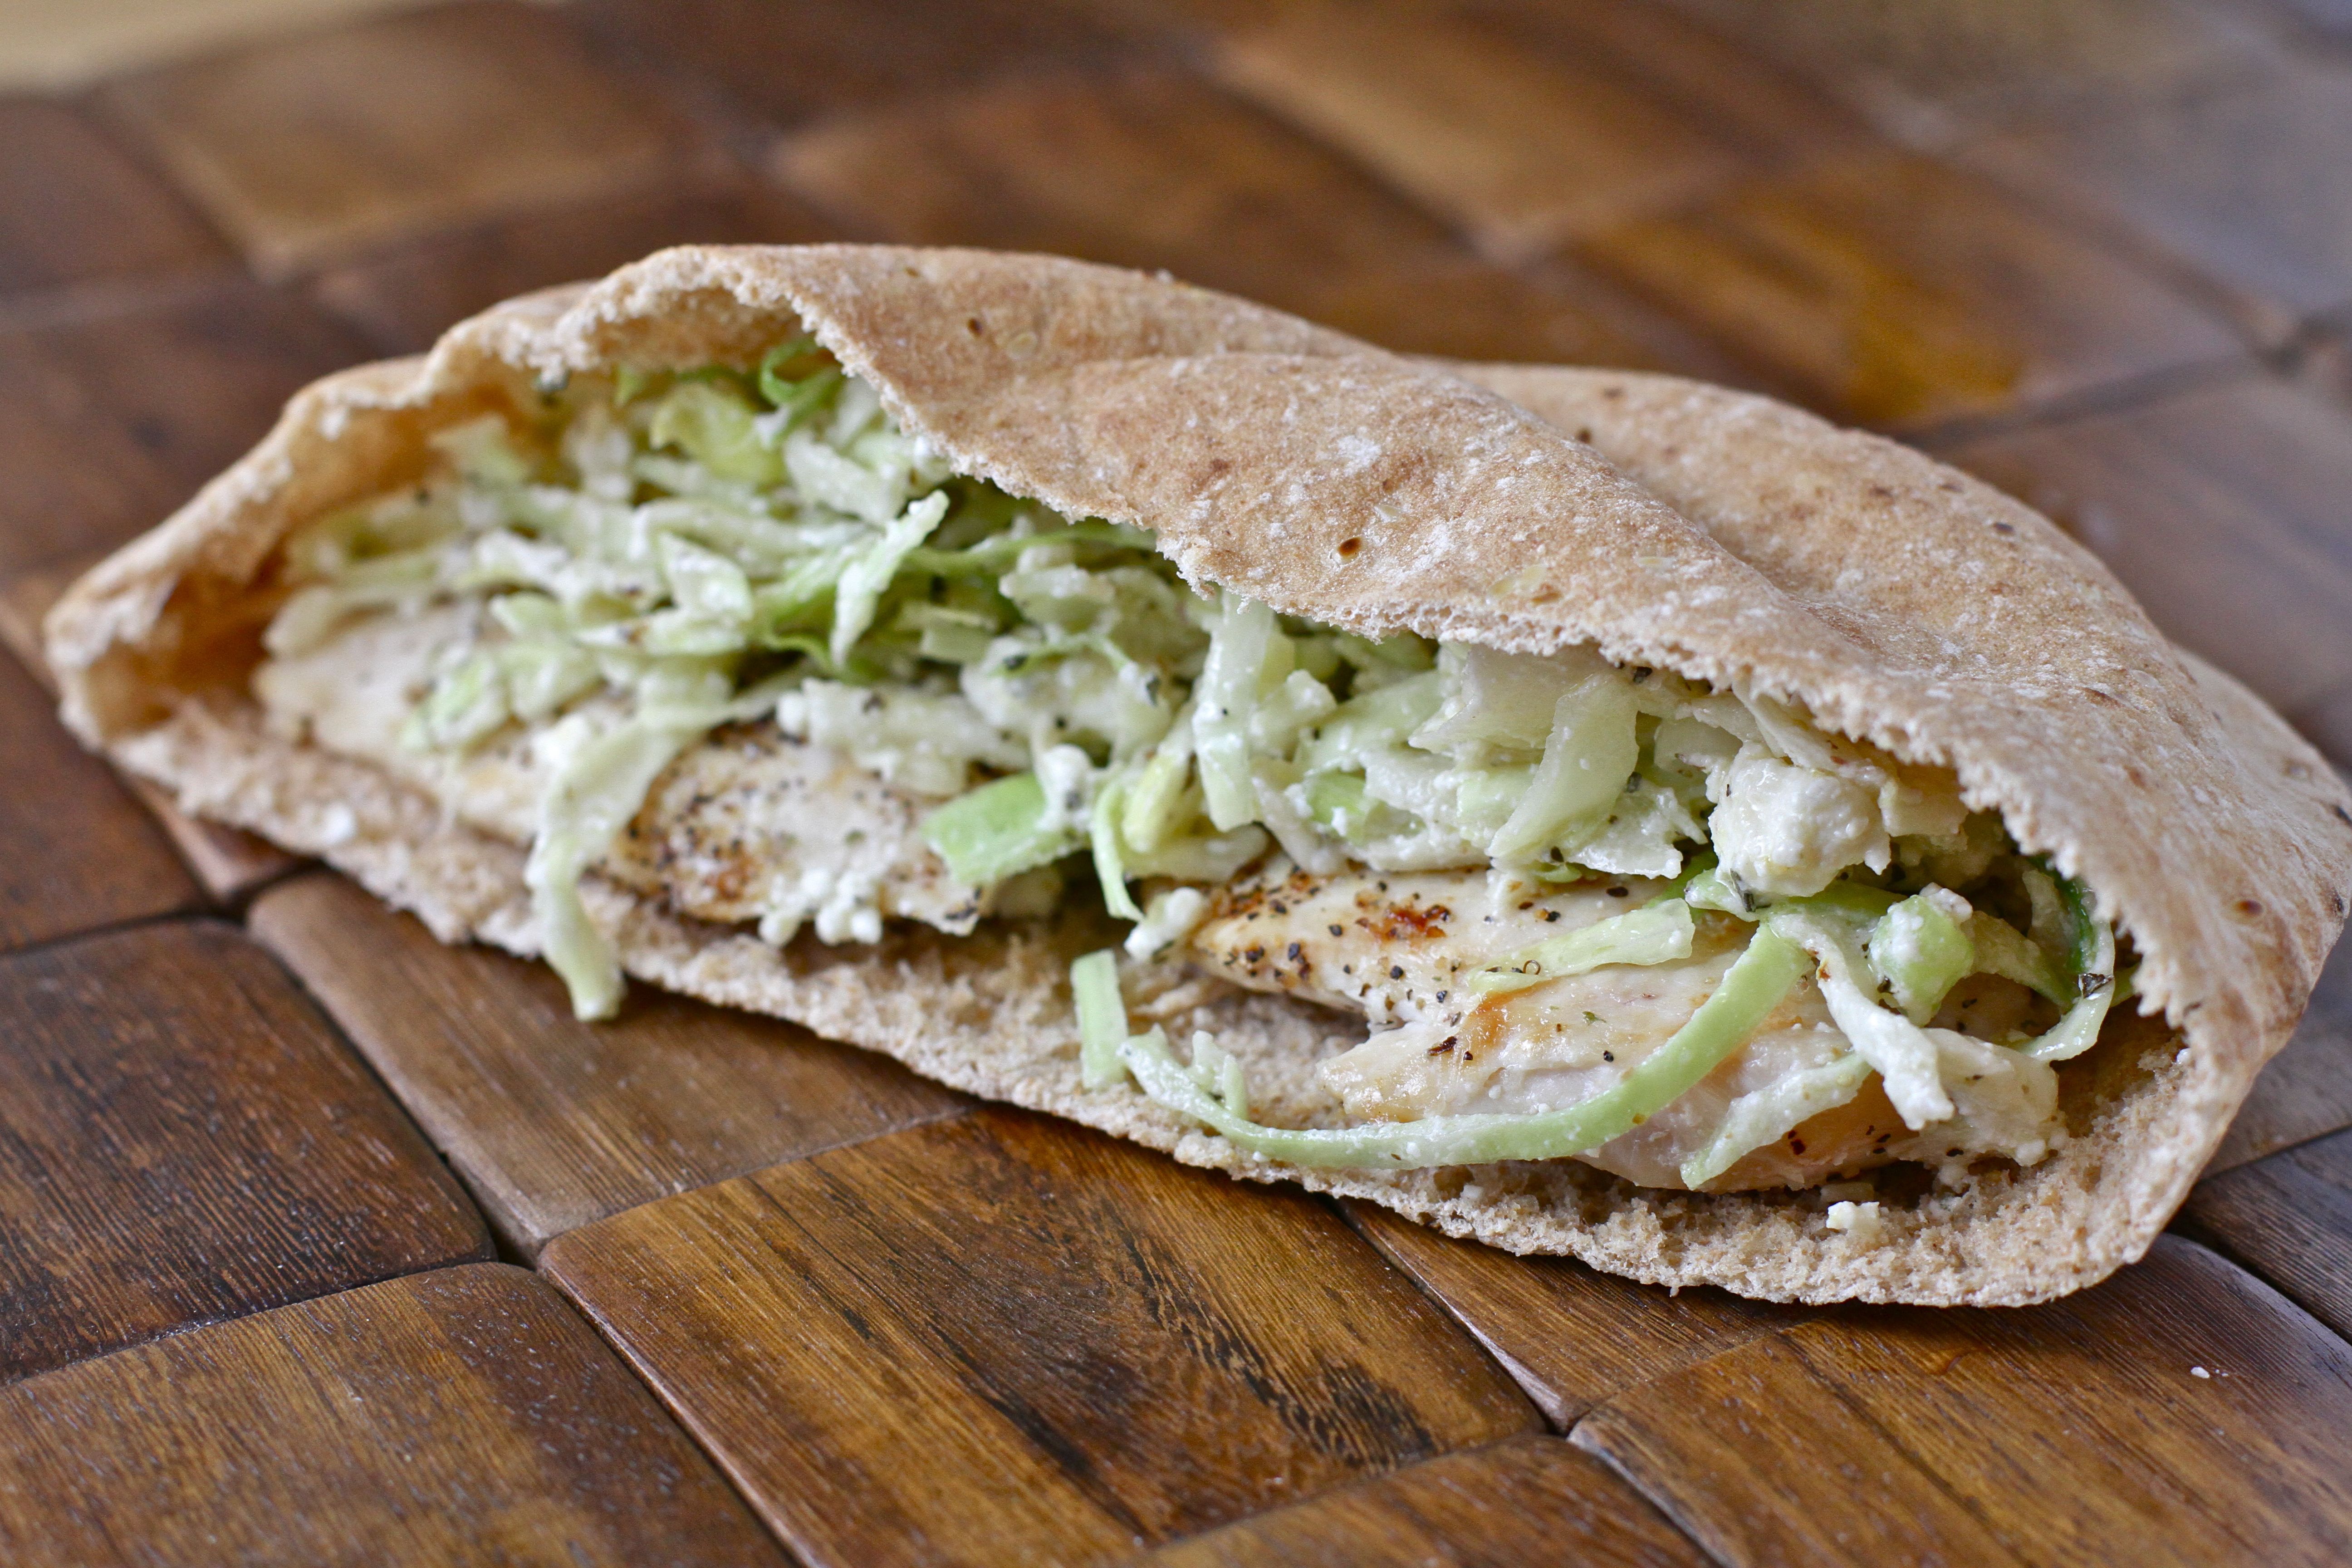
They also have a chicken pita on their menu that is as simple as a pita filled with grilled chicken and marinated slaw – I love it.  I had it for lunch today and recreated it tonight for dinner.  So really, I love it, love it.

Marinated Slaw

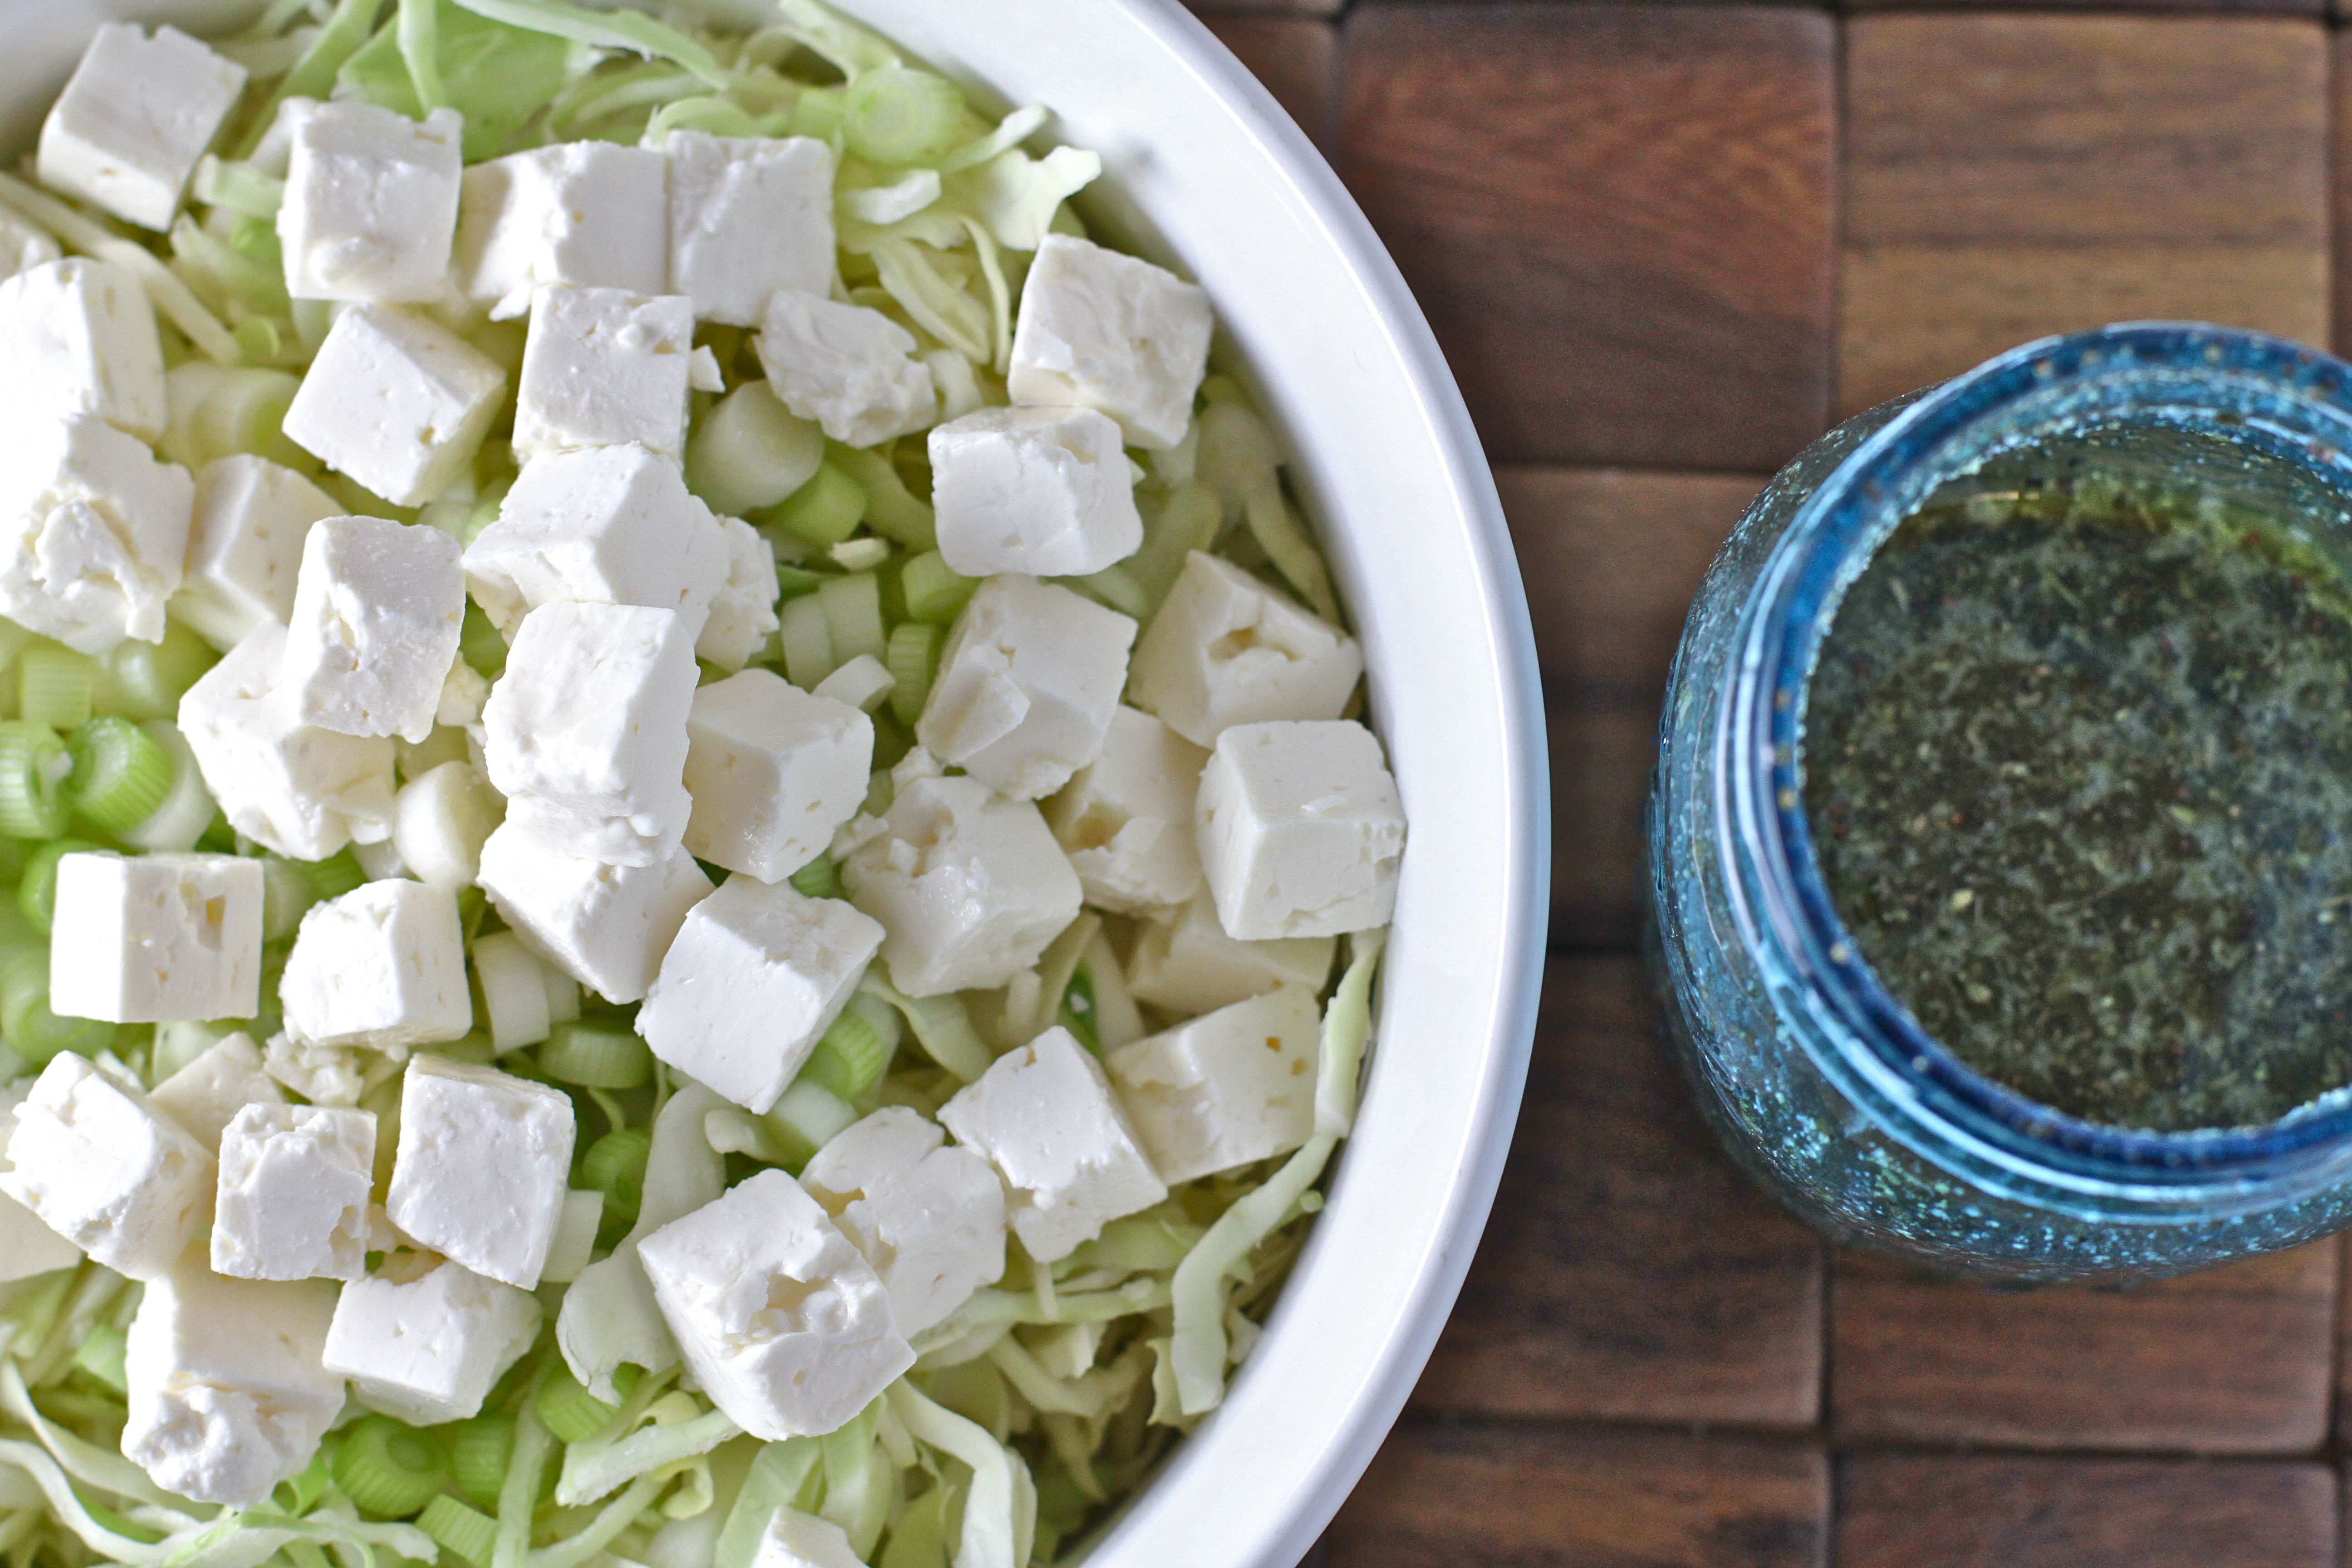
Dressing is from this recipe.

Array

Filed Under: Main Dish Recipes, recipes Tagged With: easy, greek, healthy, lunch, pita sandwich

I Know What Boys Like

December 20, 2012 by Kristin

IMG_3700

I know what boys like.  I know what guys want.  Roasted chicken.  Seriously, the boys loved this roasted chicken.

IMG_3647

My roommate and I invited a slew of friends over to celebrate the birthdays of Billy, Tyler Dean, and Molly.  And when we thought about what we’d make, a ‘Merican family dinner came to mind.  I made a roasted chicken (using Jenna’s recipe) and chocolate cake.  Kara made parmesan mashed red potatoes and soy glazed brussels sprouts.  Perhaps I have a different level of trust when it comes to Jenna’s recipes because she went to culinary school, but I’ve had such huge successes with her recipes that I have a hard time veering from her site for the basics.

IMG_3659

So back to the dinner.  Who knew roasted chicken would be such an easy crowd pleaser.  An easy, crispy, juicy, flavorful crowd pleaser.  One of the boys even said this was one of the best meals he’s had in Austin…  Austin!

Filed Under: lifestyle, recipes Tagged With: dinner, easy, eat live run, family dinner, recipes, roasted chicken

The Camera Bag

September 15, 2012 by Kristin

After upgrading my DSLR action to the Canon 7D, I figured it was high time to stop tossing my camera in any old purse and using koozies as protection for spare lenses.  Once I made the decision to invest, I got to WORK searching the web for the perfect bag.  I emphasize work because me on an online shopping mission is probably one of the more strategically intense things you could ever witness in this lifetime.  I settled on two bags, this Ketti Handbag and an ONA Bag, and blasted links to all of my besties for input.  We agreed on the ONA and when I went to purchase, I just couldn’t do it.  The scale was wrong, the me-ness factor was wrong, and most importantly, the price was wrong – $229 for an off-brand, camera-only bag?  No sir.

Within minutes, my mission was modified.  I found a camera insert on the Darby Mack Etsy site and, after a lengthy back and forth (thank you Darby!!), I custom ordered this camera insert with another fabric from her collection.  And I ordered a camera strap in matching fabric.  I noted the dimensions of the insert, 11″ wide x 8″ tall and 5″ deep, and began a new hunt – the hunt for a perfectly scaled designer bag that was oh so me and oh so on sale.

On a side note, if you’d like to order something wonderful from the Darby Mack store, Darby is offering free shipping to FoodFash readers by using the code “JUST4U” at checkout.  

As luck would have it, I headed to Nordstrom and this Botkier satchel jumped off the sale rack, down the aisle, up my leg, and onto my shoulder.  It begged me to take it home and I couldn’t say no.   The dimensions weren’t exact, but I had a hunch they would work.  The price was just about what I was willing to spend.  And by the time I left the store I was completely in love, whether the insert worked or not.

The insert arrived within a week and, as you can see above, fit perfectly in the satchel.  I ended up spending just under $250, which may seem like a lot.  But if you’re an extreme purchase justifier like me, you’d convince yourself that $250 is a steal for a designer bag, a designer camera bag, and the means to make any bag in the future a camera bag.  Yeah that’s right, three (or more) for the price of one!

Filed Under: fashion, lifestyle Tagged With: botkier, camera bag, camera insert, darby mack, designer camera bag, easy, nordstrom

Dough Hook Hooked

February 26, 2011 by foodfash

Warning!  I’m addicted to baking bread.  It’s going to be a problem.

My initial thought after baking my first whole wheat loaf was to move on to the next level, to challenge myself with a more complicated recipe.  But after some extreme quality time with Google, I realized I needed to master some basics before proceeding.

As much as I wanted to healthify my bread, white bread flour is the best starter flour out there.  Without getting into too much detail, it has to do with bread flour having a higher gluten content than all-purpose flour.  More gluten means a stronger web of proteins in the dough which means it’s more difficult for the CO2 created by the fermented yeast to leave the bread.  The more CO2 left in the bread, the fluffier it will be.

The next step was choosing a recipe.  After more Google QT, I was dead set on making Emeril’s Basic Italian Loaf.  Simple steps, simple ingredient list, I was sold.

1-3/4 ounces of yeast??  What the!  I couldn’t even begin to figure out a way to split to recipe to utilize my 1/2 ounce yeast packet, and I’m a math girl!

I began my search again, more quickly this time, and found this recipe.  The ingredient list was perfect, but the 31 steps were a little out of control.  I decided to wing it.

I combined the ingredients and steps I liked the best from Emeril, food.com recipe 1, and food.com recipe 2, and came up with this:

–
FoodFash’s Starter Bread

3 Cups of White Bread Flour
1 Tablespoon Sugar in the Raw
1 Tablespoon Salt
1 Tablespoon Earth Balance
1/2 Ounce Active Dry Yeast (1 Packet)
1 Cup Very Warm Water (120 – 130 degrees F)
Olive Oil
Spray Bottle
–
Dissolve the yeast in a small bowl of warm water.  The water should be just hot enough that you can’t leave your fingers under the faucet.  You want to be sure that the water isn’t too hot or it will kill the yeast.
–
Add flour, sugar, salt, and Earth Balance to mixer bowl, using your dough hook, and turn to Speed 2.
–
Gradually add the water/yeast mixture to the bowl and mix at Speed 2 for 10 minutes.
Coat the ball of dough with olive oil, cover the bowl, and store in a warm place for an hour (I used my microwave).
–
Punch the dough, use your rolling pin to create a rectangle, and then roll the dough into a loaf shape, pinching the ends, and making 4 diagonal slices in the dough with a sharp knife.
–
Place seam side down on a greased cookie sheet, cover with a towel, and store in a warm place for another hour.
–
Pre-heat your oven to 425 degrees.  Use a spray bottle to cover the dough with water and bake for 3 minutes.  Repeat the water coating steps 2 more times and bake for a total of 15 minutes.
–
Remove bread from oven and coat with olive oil and bake for an additional 5 minutes.
–

Tada!!!

It was more beautiful than I could have ever imagined!

The crust was crispy, but not too crispy.  The inside was fluffy and flavorful.  This loaf was simple and perfect, especially for beginners.

Filed Under: recipes Tagged With: beginner, bread, bread flour, easy, recipes, vegan

  • Facebook
  • Instagram
  • Pinterest
  • TikTok
  • Twitter

Subscribe to Our Newsletter!

Check your inbox or spam folder now to confirm your subscription.

Kid Travel: Chicago

Copyright © 2025 · Foodie Pro Theme by Shay Bocks · Built on the Genesis Framework · Powered by WordPress