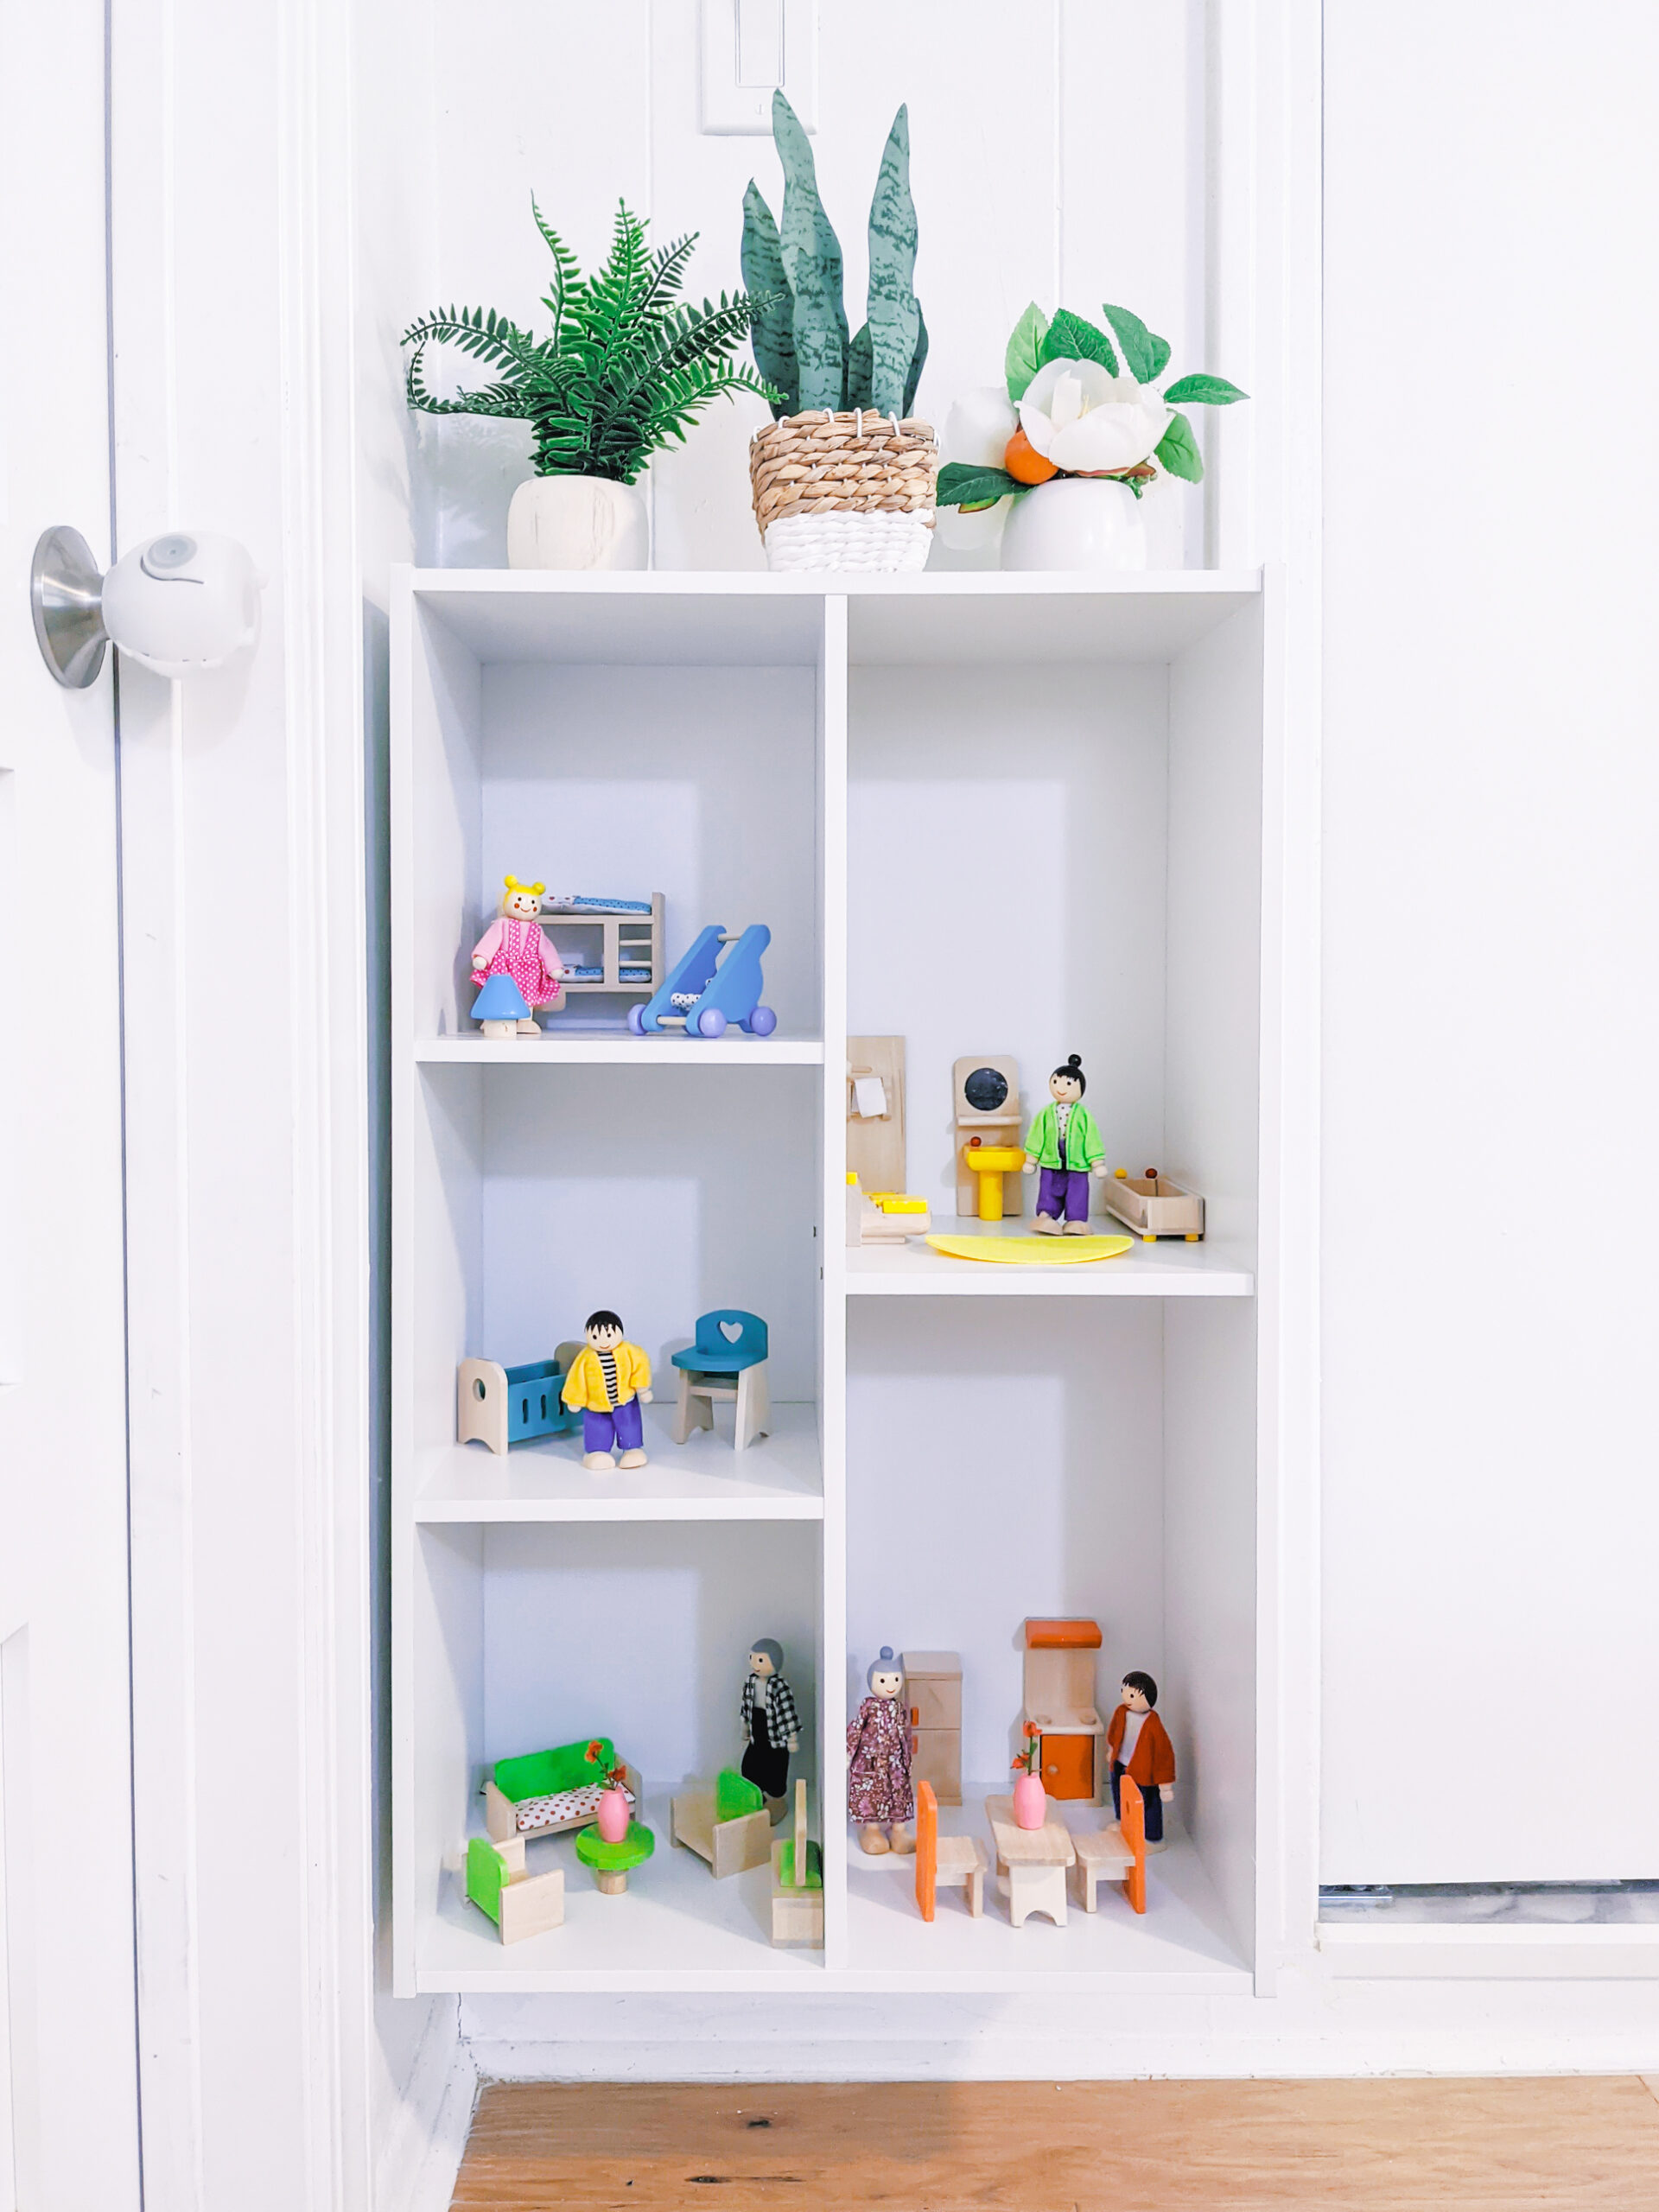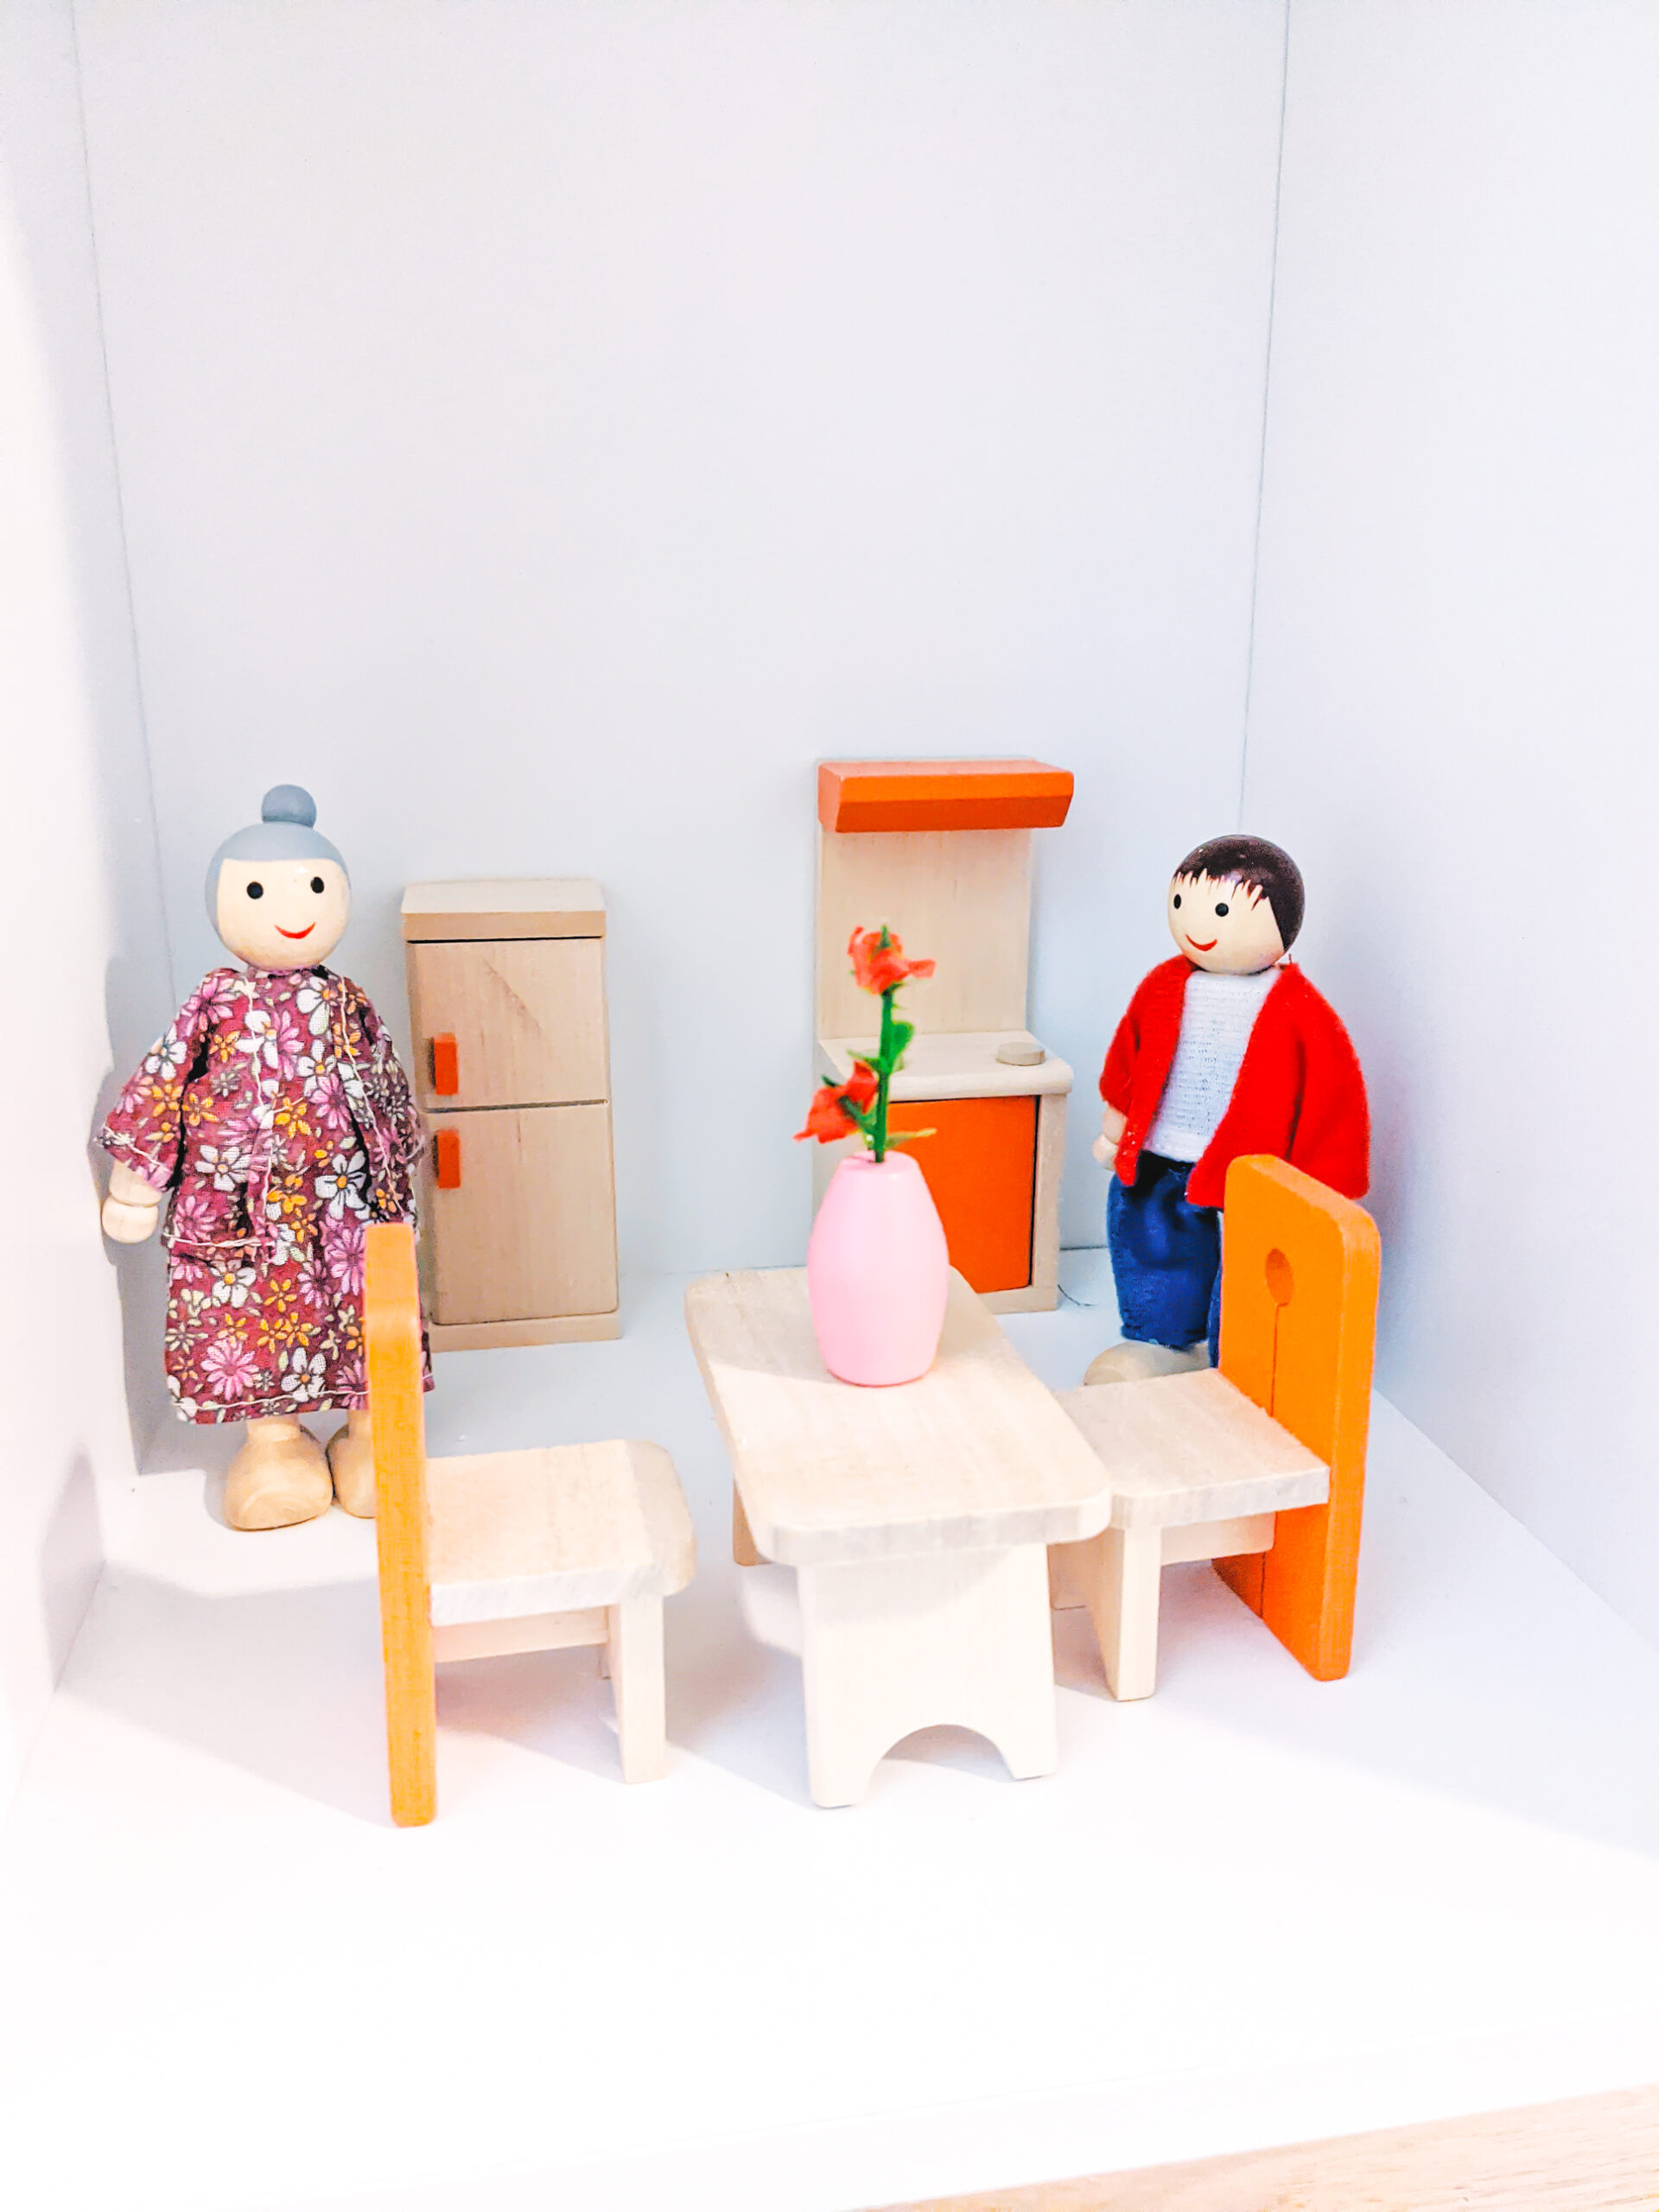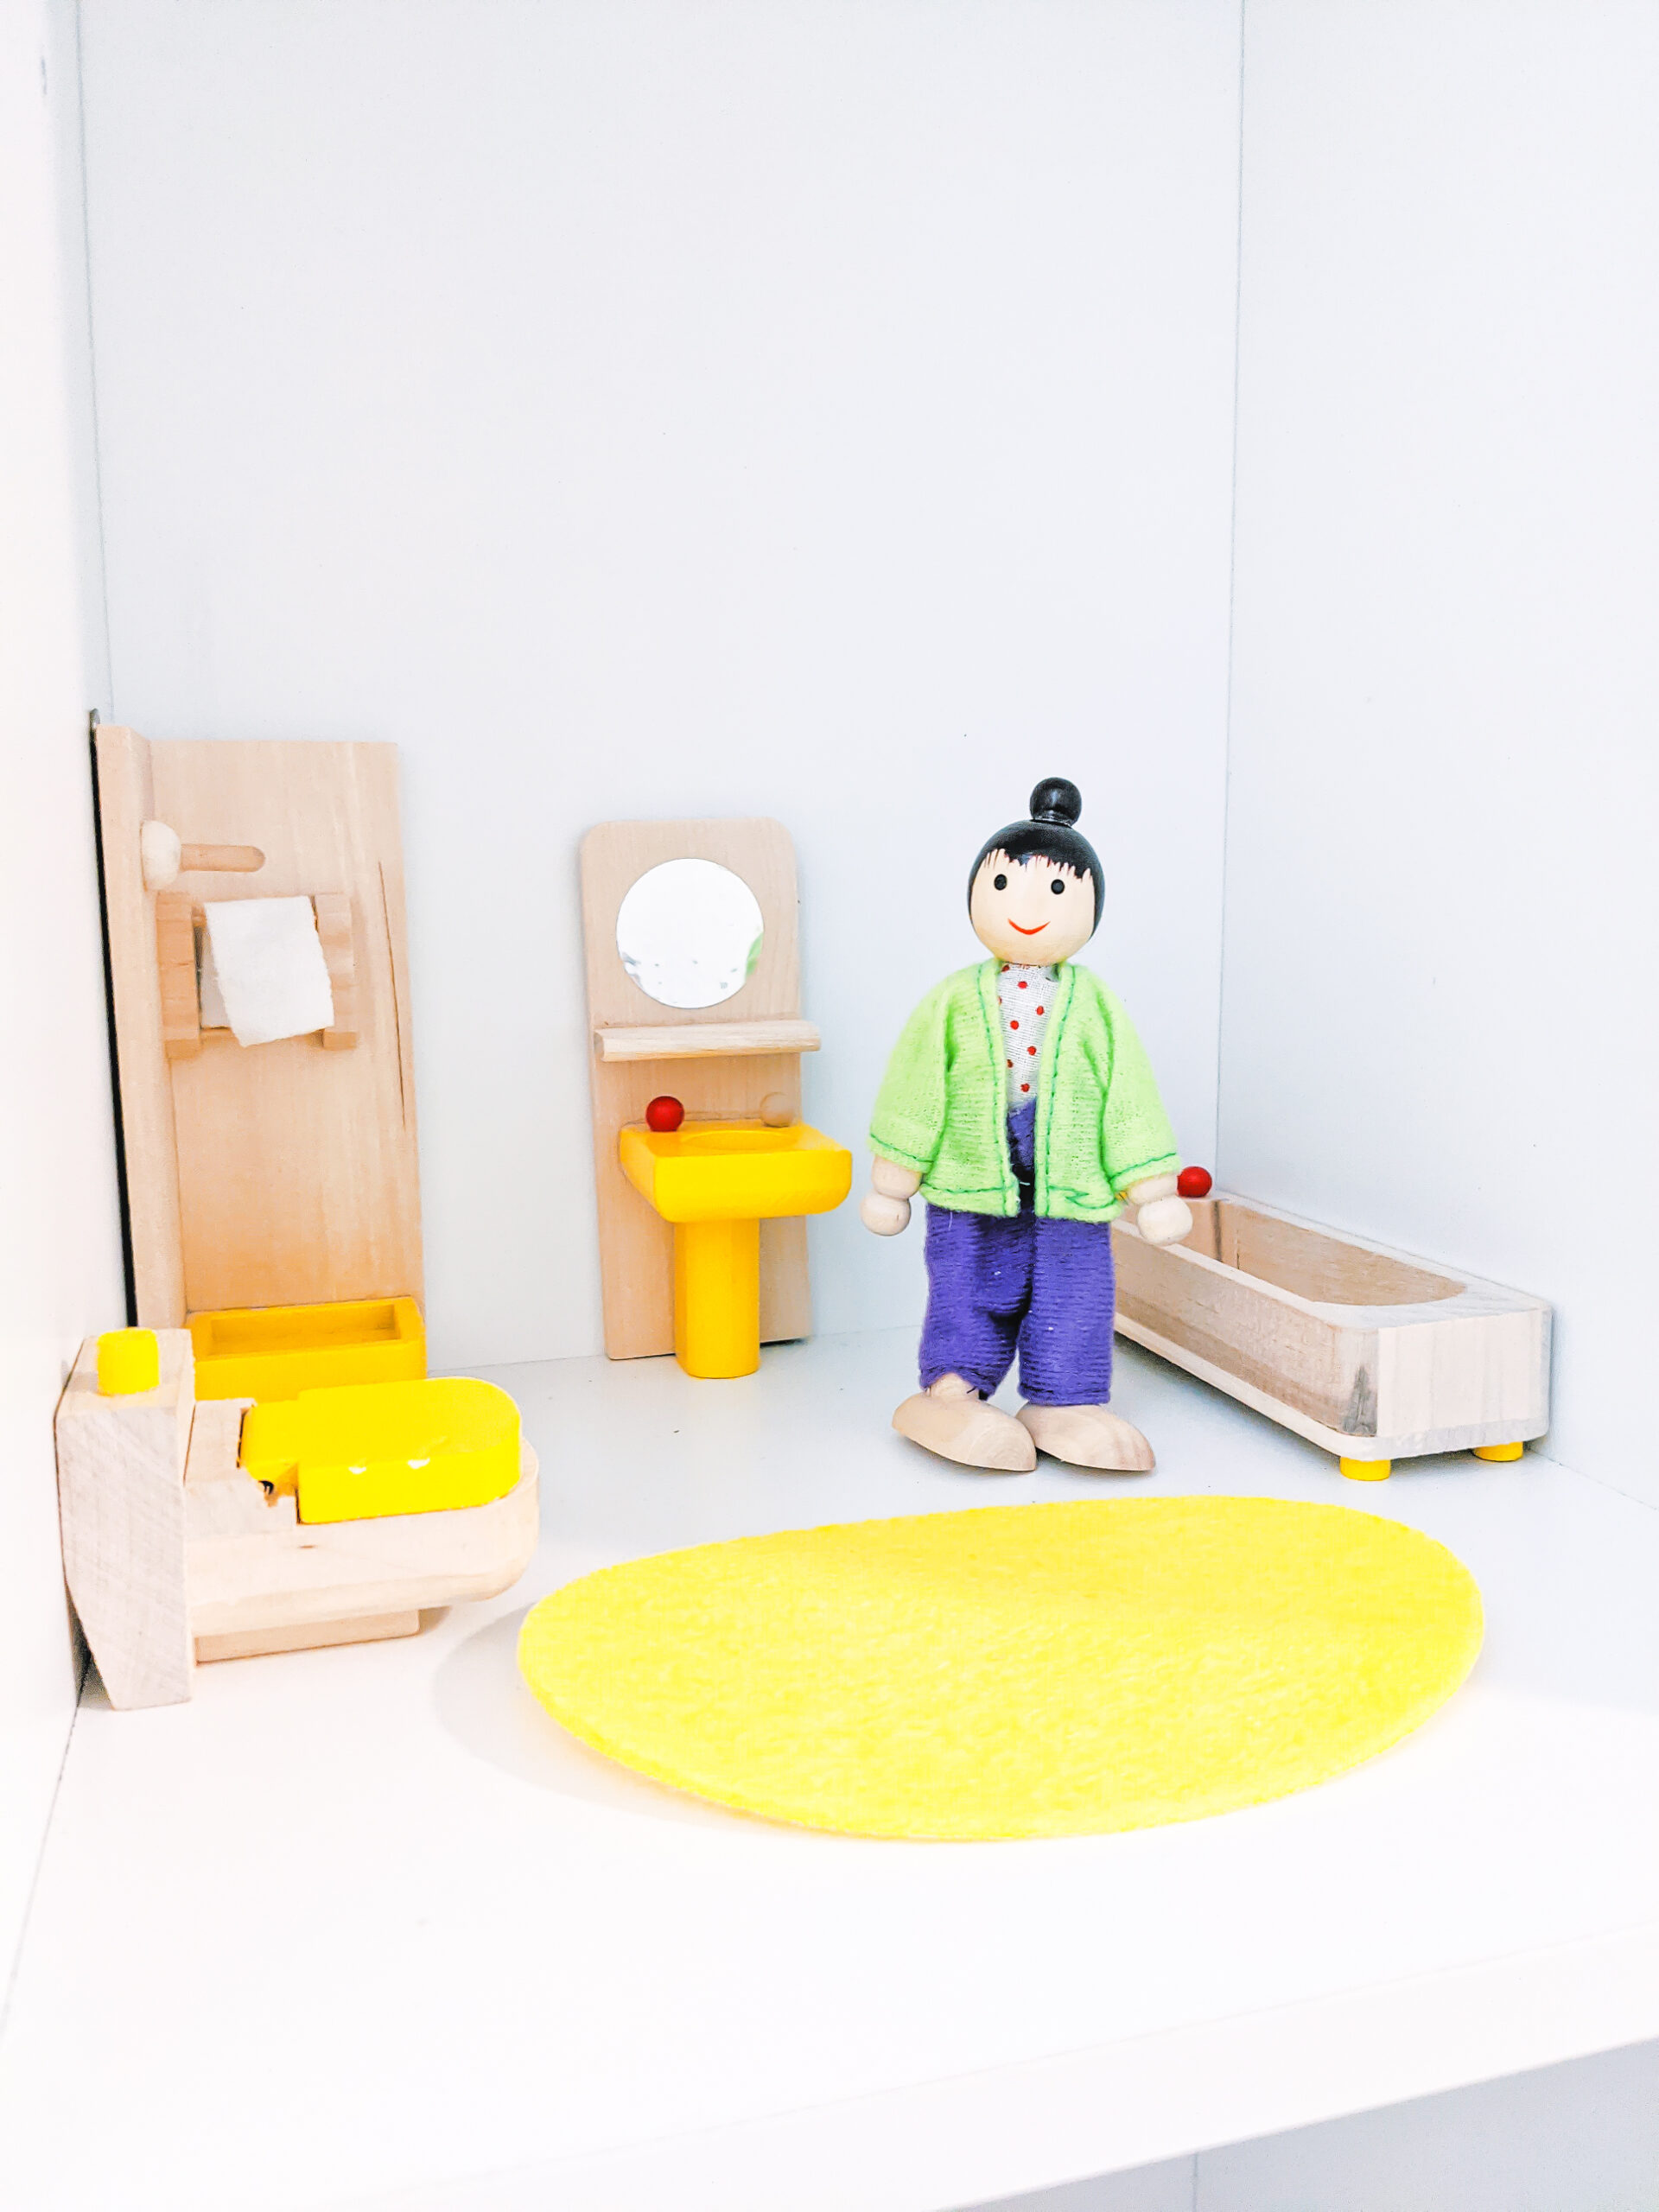
LBH… I do not have the capacity to post regularly enough to have a true niche. But! If I had more time for DIY, I’m almost certain my niche would be “future proof” kid stuff. In construction (my day job), we think a lot about how a space could be used for the next 10/20 years. And as a mom, I’m noticing first hand how the life of toys/decor is very… short! So here goes, my first DIY post, the DIY Dollhouse.

The inspo behind this DIY dollhouse came from trying to find the best wall mounted gender neutral dollhouse for a narrow space. As I was working through a solution, I came up with using a regular bookshelf that can be used for displaying or storing toys/books/decor when the kids are over playing with a dollhouse.

Below are links to for a complete dollhouse set up as well as optional hardware if you’d like to mount yours to the wall. All in, the DIY dollhouse components were about $75 and mounting hardware was another $15 or so. Not bad considering many dollhouse room set ups can range between $28-$30!
Potted Plants (haven’t arrived yet, so not in pics)