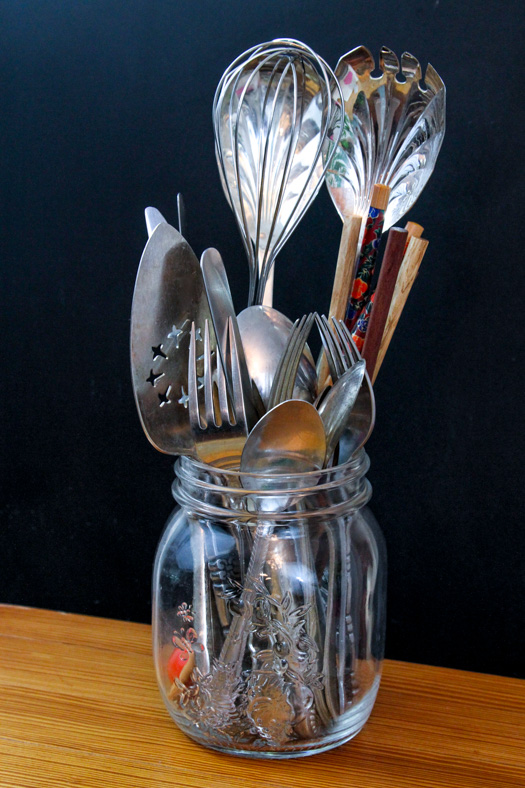
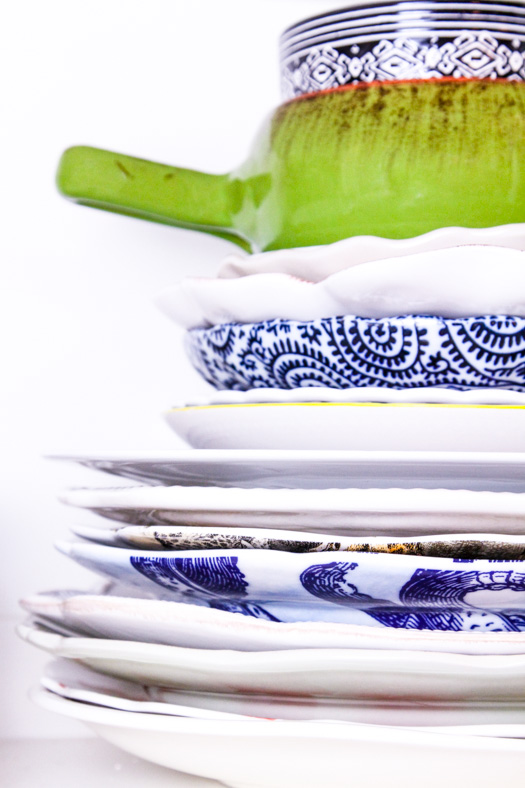
I’m a collector of cameras, lenses, lighting, editing software, tripods, dishes, utensils, gadgets, napkins, and backdrops. Years ago, I tossed my all-white dish set and committed to creating a mismatched, Anthropologie-esque dish collection. My top priority when apartment hunting was always finding a place with a space near the kitchen where I could setup a “studio”. I’ve spent numerous nights and weekends writing recipes, researching technique, treasure hunting, and building prop sets. More often than not, while my friends were out and about, I was either knee deep in bricks, subway tiles, wood, stains, paints, and dyes or covered with butter, flour, veggie scraps, and meat guts. It should be noted that I don’t regret a minute of it.
It’s a recent trend for bloggers to come forward and expose how their social media life is an illusion, that they’re on a constant mission to portray a life that is worlds better than the life they’re living. And in a way, this post is following suit.
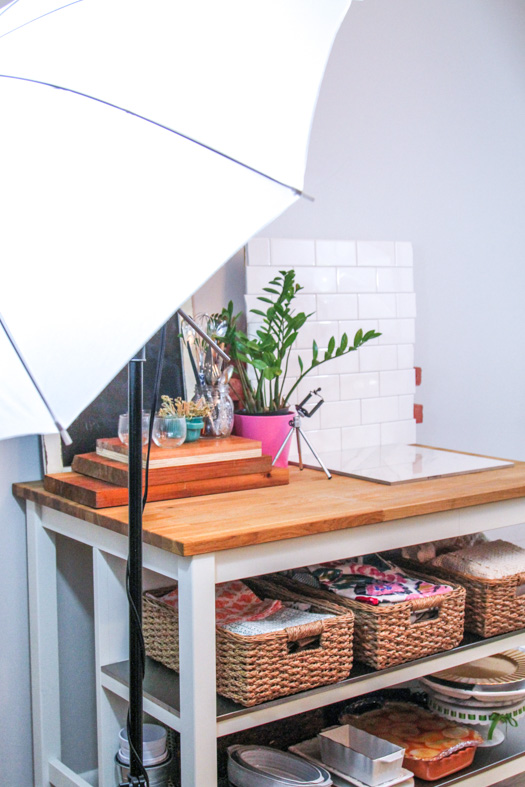
I have a prop kitchen that is perfectly white and perfectly lit. It’s conveniently located on top of all the accessories necessary to make a styled shot. Shooting only takes minutes because the conditions are right. Editing only takes minutes because, again, the conditions are right. One hundred percent of my photos are edited.
On the prop counter likely sits a meal that I prepared myself, styled myself, that was unbound by a budget and unsponsored by a brand. More often than not, it’s a meal that was created as a result of hunger and inspired by the associated craving. No meals are created just to create. No meals go to waste {I share!}.
I don’t believe using a prop kitchen is a reflection of pretending to have. But I do believe the prop kitchen is a reflection of hard work, dedication, and a creative spirit. I work with brands on occasion because I enjoy being rewarded for working hard, challenging myself with product limitations, and providing readers with products that I want as well. But for the most part, the food, the setup, and the opportunities are funded by a demanding day job that is completely unrelated to FoodFash.
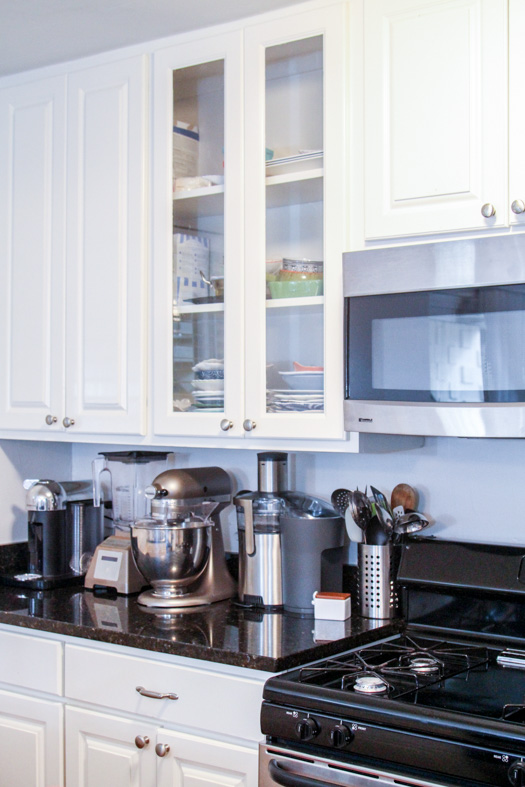
At the end of the day, the only illusion here is downplaying the amount of love and work that goes into maintaining a blog.
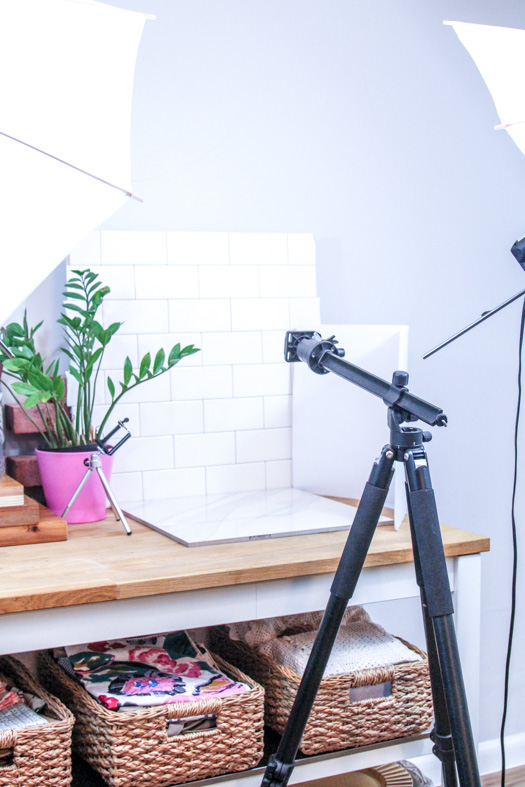
A handful of blogger friends have requested that I share what goes into a prop kitchen because it’s a realistic solution for those who are trying to work with a kitchen that may be crowded, under lit, messy, or not-so-pretty. So here it is, a list of items in my prop kitchen for new bloggers and seasoned bloggers, alike, looking for resources and inspiration.
Dishes/Utensils/Linens: Anthropologie, Homegoods, World Market, Thrift Stores
Subway Tiles {applied to a 2×2 piece of plywood using adhesive, no grout, in a running bond pattern}
Stacked Bricks {stacked, without mortar, in a running bond pattern}
Marble “Counter” {look for a piece with minimal marbling}
Slatted Wood “Table” {stained 2 ft. pieces nailed from the bottom to a 2×2 piece of plywood}
Helpful hints: Clearance sections are your friend! And the lumber department at Home Depot will cut wood to size for free.
If you have any additional “how to” questions, please comment below or email me at kristin {at} foodfash {dot} com.


Great insight into how you do it, thanks for sharing! I’m making mental notes….. 🙂
Anytime! It could have been a monster novel of a post Hoping this provided the highlights!
Wow! I love this post. Even blogger to blogger, we rarely talk about the sacrifice, not to mention work, that goes into it. The illusion of perfection that so many portray comes at a high price. But you seem to have found a good balance. And you should know that your food photos were the inspiration behind my choice of white subway tile when it was time to redo our kitchen. Your prop area is genius!
Thank you so much! So much sacrifice, but invaluable QT with your bad, bad self . As bloggers we should strive to be more honest with each other. Jealous that you have the real deal white kitchen!
Our new kitchen won’t have white tiles but I’m taking the box of leftovers with us so I can make a board like yours 🙂
Great idea! I definitely want to play with more tiles and patterns in 2016. Maybe I’ll get skilled enough to renovate a kitchen one day Happy new year!!
Kristin I love that tile backsplash. I totally thought it was your kitchen! Your food is beautiful and always looks delicious. I know the love and often grueling hard work that goes into recipe development, food photography and blogging – one can only think the reason we keep doing it is because we’re passionate about food and want to share all the deliciousness. 🙂 Love the post and love all your recipes.
Thank you so much, Karista! Right back at ya!
This is amazing Kristin! Thank you for publishing this! As someone starting out, you have no idea how helpful this is.
Thank you and you’re so very welcome! It’s such a great compliment to hear something you’ve published is useful. I’m always here if you’ve got a question!
Well that’s just brilliant! I love how you incorporated the subway tile.
Thank you so much!
Awesome!
Thank you!
I love this. Thank you so much for sharing what you use. Do you think this area could be set up on a room other then the kitchen? Our kitchen doesn’t have any extra space for another table but my office is close by and I think I could do it in there.
Of course! Mine is setup in an area adjacent to the kitchen, but I still have to move everything I want to shoot to that area. Good luck!
This is awesome. What do you use to extend your tripod? Is that part of the tripod?
It’s part of the tripod.